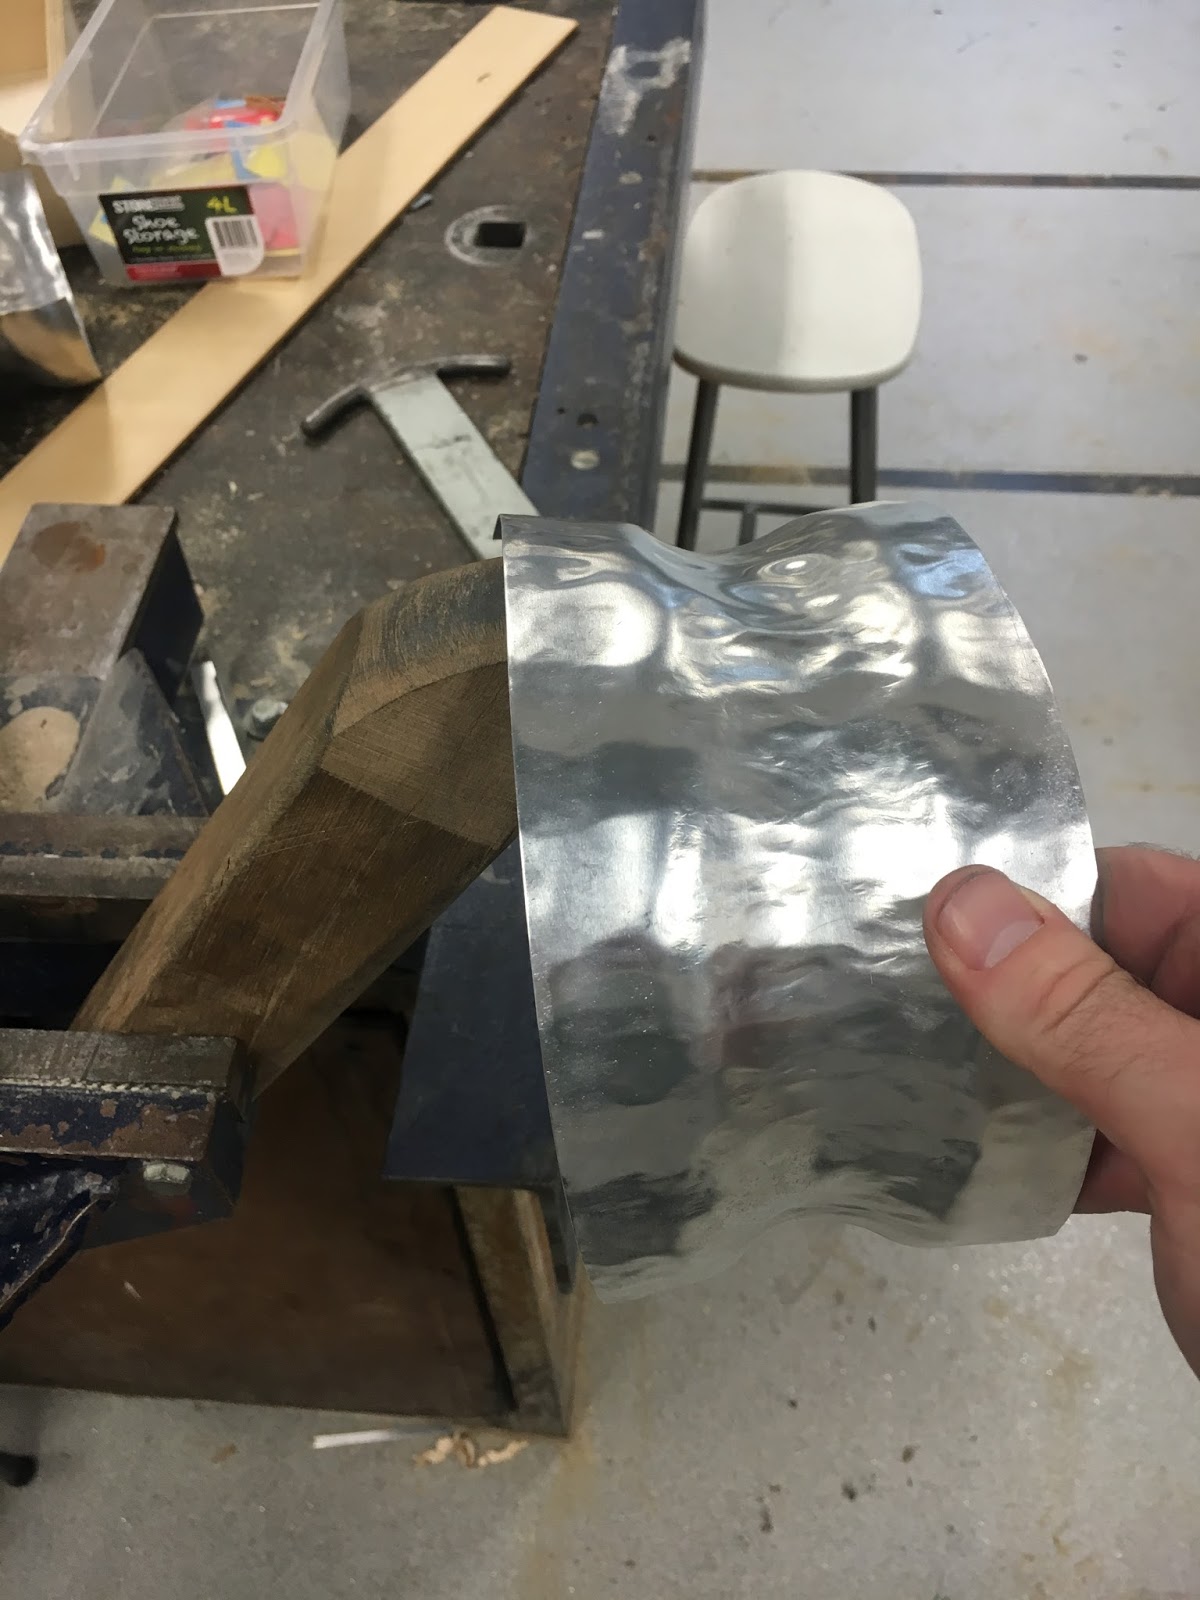
I thought the edges of the reverse curve could do with a bit of a stretch so I used the classic lump of wood in a vice approach. Due to the malleability of the metal, only a gentle tap was needed to get the stretch to form.
To even out, stretch and smooth the inner section of the reverse curve, I decided to see how an English wheel would affect the material. I swapped out the bottom wheel for another with a higher crown, the highest crown available as this is a small piece of metal so I wanted a minimal contact patch. After only a few light passes through the English wheel, the central arc was widened, smoothed and slightly more aligned. I began to work on stretching and forming the metal using various metal anvil-like objects that were scattered around the workshop. Got up to this stage when I was informed that there was staff CNC training so I had to leave. Will hammer out the final parts another day.
After having formed our trays independently, my work partner Logan and I put the trays together for comparison. The similarities and craftsmanship of trays are simply astounding to say the least. Such precision..
Bowl starting to take shape. Folds have been worked out with pliers. First time using the English wheel, I was working on zig zags along an x and y axis. I now see that I should have been working radially around the bowl.



Comments
Post a Comment