Assessment 2: Ferrari 250 GTO Documentation
For the individual component of this assignment, the Ferrari panels were split evenly among the group members. For my individual part I selected the right hand side front fender.
I was aware that this would be a challenging piece that would require most of the techniques of metal shaping that we had covered in previous class tutorials and assignments, such as the bowl and reverse curve.
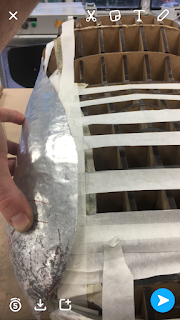
Assembling the buck
The Buck
My Individual Piece: Right Hand Side Front Fender
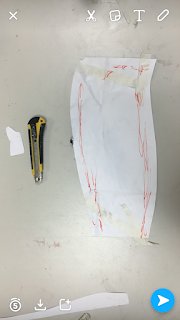
RHS Front Fender Stencil
The most frequently used tools.
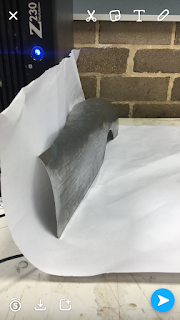
RHS Fender beginning to form.
Smoothing out and tightening fit.
Extreme precision.
Tightly fitted sweeping curves.
The finished product after a light sand and polish.
This fender really is beautiful.
From any angle.
Stunning curves.
The final product over the top of an image of the Ferrari 250 GTO.
Note the accuracy of the curves emphasized by the lighting. A testament to the attention to detail, patience and willingness to learn a new skill, and general craftsmanship that bought this Ferrari fender from being a digital model to its physical material actualization.


Comments
Post a Comment